Maintenance
Ensuring the permanent functionality of the MV system
Trouble-free operation
Stable processes and maximum productivity are essential in industrial manufacturing environments. In the field of industrial machine vision, system reliability is ensured through targeted maintenance strategies.
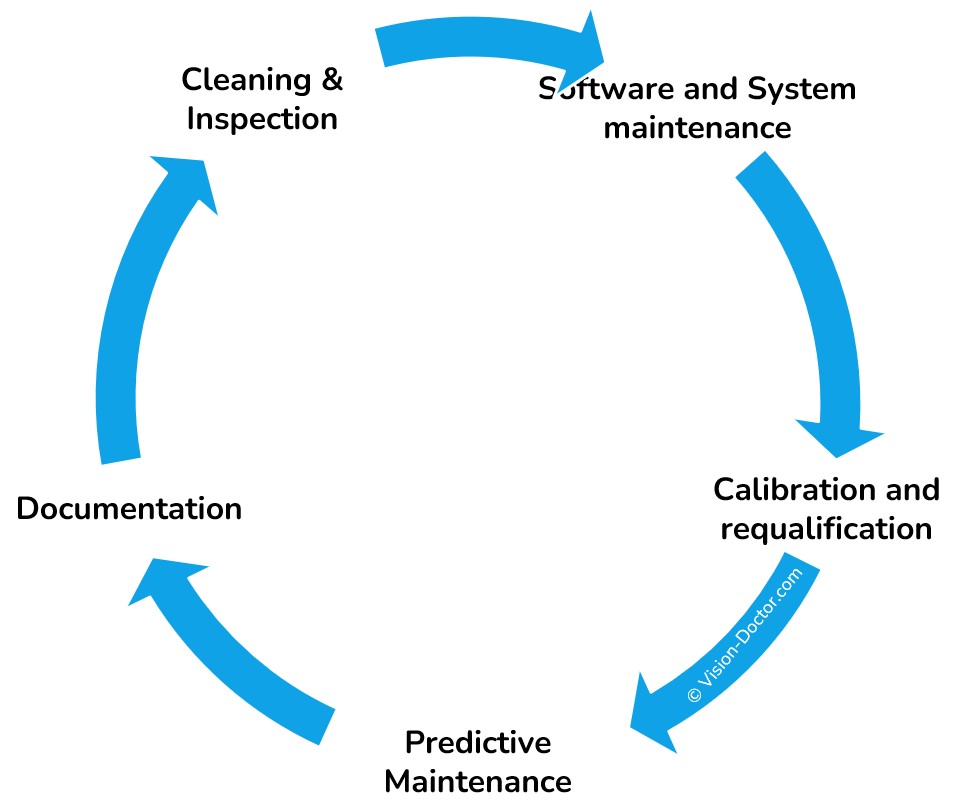
A typical holistic approach to MV system maintenance includes the following steps:
-
Cleaning and inspection
-
Software and system maintenance
-
Calibration and remeasurement
-
Predictive Maintenance
-
Documentation
This may sound complicated at first, but it's not. It is important to ensure that the vision system fulfils its purpose by reliably and consistently detecting errors. Let's get started!
1. Cleaning and hardware inspection
Environmental conditions are a common cause of damage to the system. Therefore, regular inspection and cleaning are mandatory and only take a few moments.
Lens cleaning

Dust, oil mist and other particles can significantly reduce image quality. Lenses and protective glass should be cleaned with special cleaning agents designed for use on optical surfaces. Great care must be taken to avoid damaging the anti-reflective coatings. First, gently remove dust and dirt using a hand-held bellows or an optical brush, taking care not to apply mechanical pressure. If necessary, cleaning with a moist cloth can be carried out!
Illumination check
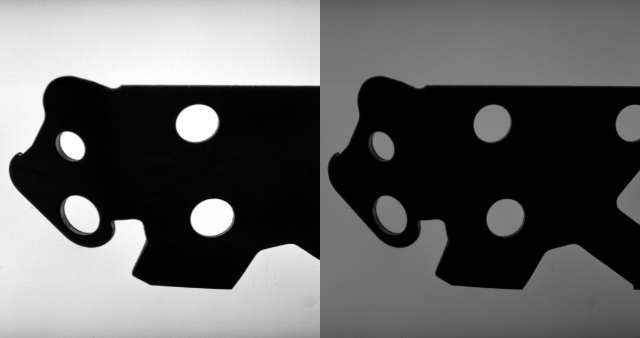
The brightness and homogeneity of the lighting should be regularly inspected using software. A drop in brightness of the LEDs can indicate an impending failure.
Ideally, you should have saved reference images showing what the lighting looked like initially. These allow you to quickly make manual comparisons and see whether the image has changed overall or only in certain localised areas (which are usually darkened).
Cables and connectors
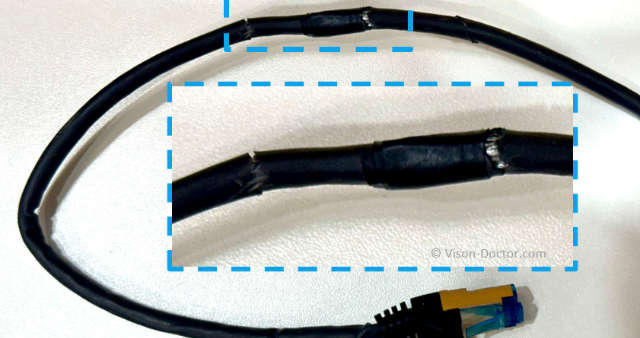
Signal errors can quickly be caused by loose cables, damaged insulation or corroded connections. All cable connections (data, power and trigger) must be checked for tightness and visible damage, particularly for moving cables such as drag chains and robot cables.
For example, I am always amazed at how M12 screw connections in the cable harness along a six-axis robot can come loose after just a few days of movement if they are not tightened sufficiently.
Inspection of mechanical mountings

Vibrations in the production environment may cause cameras or lighting elements to move out of position. Therefore, make sure that all mounts are securely screwed in place and that the system is correctly aligned.
Use Loctite or a similar product if problems occur!
2. Software and system maintenance
The stability of MV systems largely depends on the software infrastructure. If nothing has been backed up and the PC has to be replaced due to a minor problem, it's your own fault!
Software backups
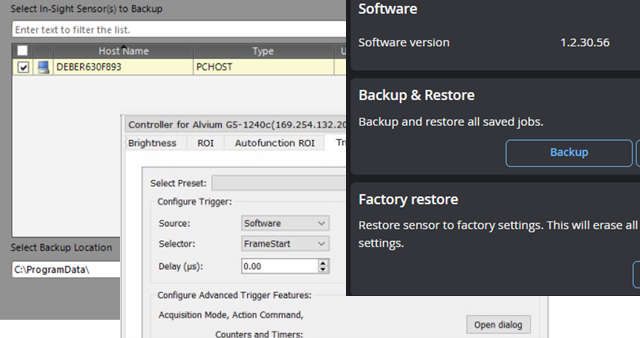
To ensure smooth operation, it is essential to regularly back up inspection programmes, calibration data, white balance settings, and camera settings (e.g. GenlCam settings). It is surprising how many different places important configuration files can be hidden!
Software updates
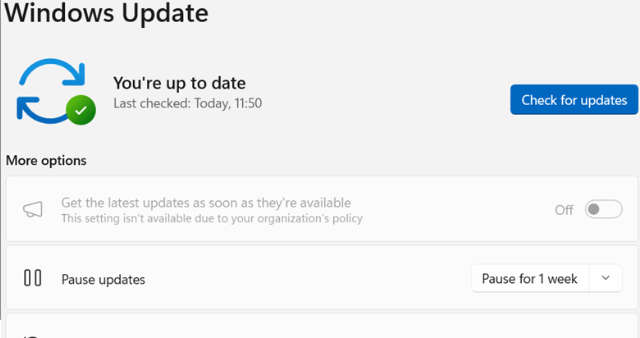
In consultation with IT and system suppliers, ensure that the inspection software and, above all, the operating system are kept up to date, as updates can resolve issues and enhance performance.
Caution: Incompatibilities must be ruled out! Test!
Checking the log files
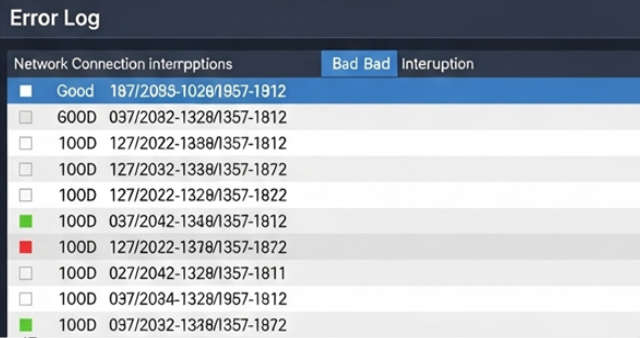
Regularly checking the log files for warnings or error messages (e.g. memory bottlenecks or communication errors) enables problems to be detected early on, helping to avoid major failures.
3. Calibration and requalification
To ensure precise measurement results, the system must be calibrated accurately and checked periodically. Requalifying the application is also essential. Can the test programme still reliably detect all errors at the current stage?
Has an employee changed the error detection limits so much that all defective parts have been incorrectly identified as good parts and not rejected?
Camera calibration
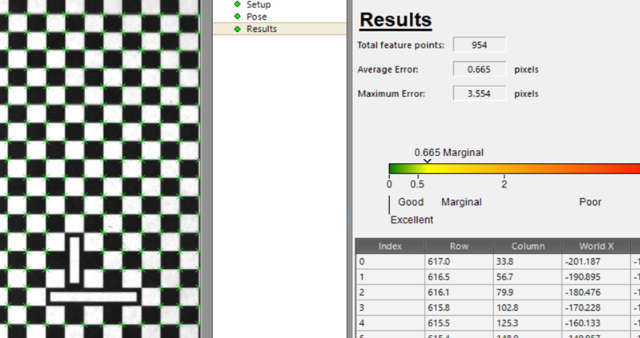
The validity of the calibration data must be checked at regular intervals. Recalibration is necessary in the event of mechanical drift, for example due to the effects of heat or changes in the mounting.
The necessary calibration targets are included in the image processing system's delivery scope and should remain with the system permanently; otherwise, such problems can only be remedied by an image processing specialist. Who knows whether one will be available and able to travel to you?
Reference objects / Golden Samples
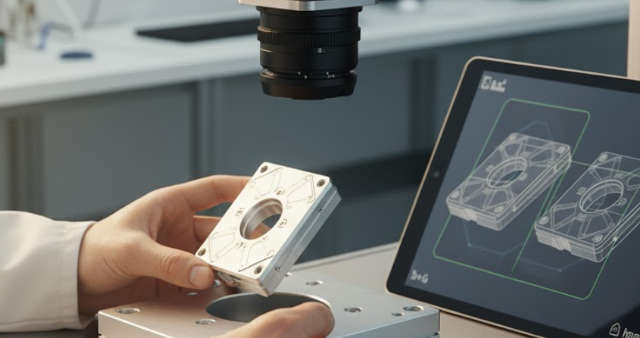
For systems where system acceptance is carried out using reference objects, it must be ensured that these are clean and undamaged.. Otherwise, contamination or oxidation may affect the accuracy of the measurements.
Therefore, please regularly check whether these golden samples are showing signs of wear and tear, such as scratches or corrosion. Otherwise, although you will have high-quality parts in production, your 'perfect golden sample' will increasingly fail to reflect reality.
Predictive Maintenance, SOPs & Documentation
The use of predictive maintenance strategies can maximise the availability of machine vision systems. Smart, isn't it?
Automated monitoring
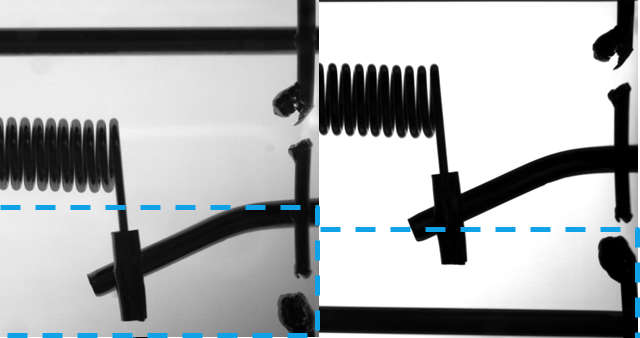
Important parameters such as image brightness, laser service life and temperature must be monitored. For example, an automatic warning could be triggered if the contrast or brightness in the right-hand area of the image falls outside the defined tolerance range compared to the left-hand area.
It is a small luxury to be able to create such a diagnostic programme alongside the actual test. However, let's be honest: a few constants as reference values, a pattern search for offset calculation, and a few brightness test tools that calculate the difference between the constants and the live values mean that creating such a programme does not take long.
Analysis of measurement data
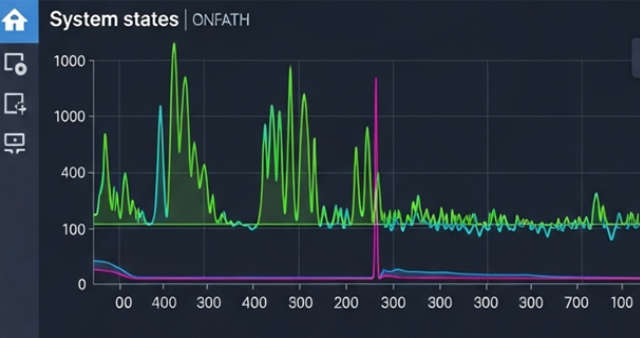
Gradual deterioration in measurement results, such as decreasing brightness or a dirty lens, can serve as an early warning sign of potential problems. Long-term trends and periodic data comparisons are extremely useful!
As a user of the system, however, you do not have an overview of long-term trends. However, if you measure the score of a pattern matching tool or track the read quality of a data matrix code sporadically, you can quickly identify any long-term deterioration and take appropriate corrective measures. Is it the ageing effects of the BV system, or has the component being tested simply changed? Get to the bottom of it!
Documentation & SOPs

Every maintenance measure should be documented, including when it was carried out, what was done and who did it. This makes the maintenance status traceable and improves the planning of future intervals. Create clear instructions (SOPs) for maintenance routines. This ensures that maintenance is always carried out in the same correct way, regardless of who performs it.
A simple example would be checking the backlight. Abrasion and fragments from components can contaminate the illuminated area. If these are close to the contours of the components you want to measure, this can lead to incorrect measurements. This problem could be solved with a simple weekly cleaning instruction.
Need help selecting a system?
Vision-Doctor.com is a private, independent, non-commercial homepage project and not a technology provider or system integrator. Suitable technologies and further professional support can be obtained from the companies & partners listed below.
If necessary, I will be happy to provide a quick recommendation, contacts and brief information.


